The Ultimate DIY Landscaping Guide
Ready to roll up your sleeves and tackle your own landscaping project? DIY landscaping is a fantastic way to personalize your outdoor space, add curb appeal, and even boost the value of your home—all while having fun and saving some money.
Whether you're looking to spruce up your garden, create a cozy outdoor retreat, or add functional features like a walkway or raised garden bed, we've got you covered. Here's your ultimate guide to DIY landscaping, with easy tips, creative ideas, and all the tools you'll need to get started.
What Does DIY Landscaping Look Like?
DIY landscaping can be as straightforward or as elaborate as you desire. It's all about bringing your vision to life while working with your yard's unique space and features. Whether adding a few plants or redesigning your whole yard, DIY landscaping lets you get creative and make your outdoor space your own. Here are a few common projects that can make a significant impact:
Covering Your Yard with Mulch: Mulch is a landscaping staple that helps keep the soil moist, suppresses weeds and gives your yard a neat, finished look. It's also super easy to install—simply spread it around your plants and garden beds. Choose from different types, such as wood chips, bark, or even rubber mulch, depending on your style and budget.
Planting a Raised Garden: Raised garden beds are perfect for growing veggies, flowers, and herbs. They not only look great but also reduce the strain on your back since they're elevated. Plus, they allow for better drainage, which is key for healthy plants. If you don't have a lot of space or good soil, a raised garden is the way to go!
Designing a Walkway: A walkway adds charm and structure to your garden while creating a functional path through your space. Whether you opt for brick, stone, gravel, or pavers, designing a walkway is a simple way to guide guests through your yard, create visual interest, and keep things organized.
How to Build Your Dream Garden
Building your dream garden doesn't have to be complicated. With a bit of planning and the right approach, you'll have a beautiful garden in no time. Here's how to make it happen:
1. Design Your Dream Garden on Paper
Start by sketching out your garden ideas on paper. This will help you visualize how everything will fit into your available space. When designing your layout, consider things like sunlight, shade, wind, and accessibility. Don't forget to plan where your seating, garden beds, or water features will go!
2. Decide What Flowers/Greenery You Envision for Your Space
Do you want a vibrant flower garden, a peaceful green space, or an herb garden? Pick out the flowers, shrubs, and plants that best suit your style and your yard's conditions. Mix colors, textures, and heights to create a layered, visually appealing design. Be sure to include some seasonal plants for year-round beauty!
3. Consider Your Planting Zone
Before you go crazy buying plants, be sure to research your planting zone. Knowing your climate zone helps you choose plants that will thrive in your geographic area. Certain plants require specific conditions, such as certain temperatures, humidity, or soil types. You'll enjoy a healthier, more successful garden when you pick plants suited to your zone.
4. Invest in Necessary Garden Tools
No garden project is complete without the right tools! Whether it's a shovel, rake, pruning shears, or a garden hose, the right tools make a big difference in your landscaping experience.
You can find them secondhand or ask neighbors if you can borrow specific tools you may not need regularly.
5. Start Planting!
Once your plan is set and your tools are ready, it's time to get planting! Follow the recommended spacing and planting guidelines for each plant. And don't rush—take your time to place each one correctly. As you go along, periodically step back and inspect to ensure the overall layout is what you had in mind.
How to Store Tools Properly
Proper storage is key to keeping your tools in good condition and your workspace organized. Here are a few tips for storing your landscaping tools:
Keep Tools Off the Floor: If you leave your tools on the ground, they're more likely to rust and get damaged. Store them on shelves, hooks, or a sturdy storage rack to keep them off the floor and out of the way.
Ensure Tools Are in a Cool, Dry Space: Exposure to heat and moisture can damage your tools. Store them in a cool, dry area to help prolong their life and maintain their performance.
Keep Them Organized for Easy Access: If you've ever had to hunt for a missing rake or shovel, you know how frustrating it can be. Keep your tools organized in a shed, garage, or dedicated storage space. Using labels, bins, or pegboards can help keep everything in its place.
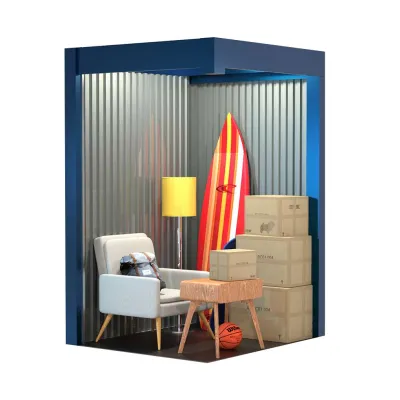
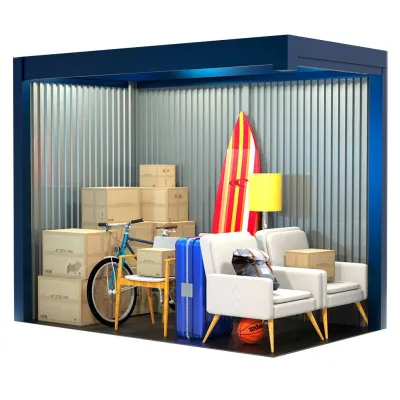
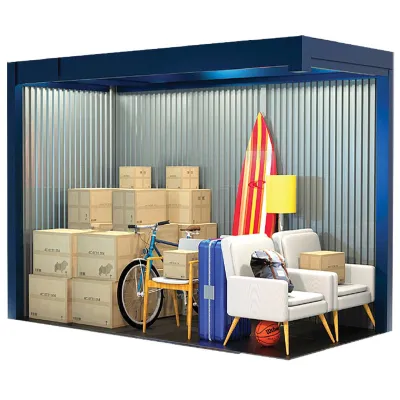
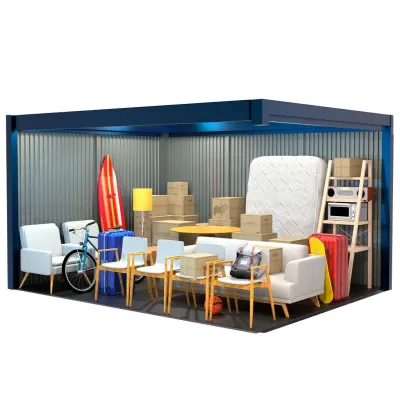
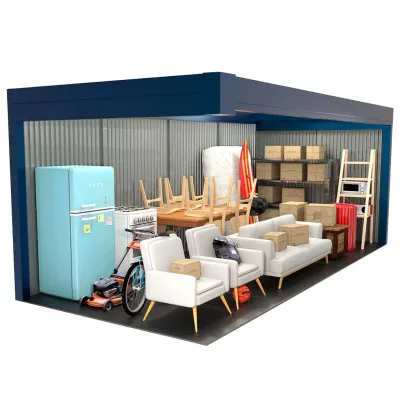
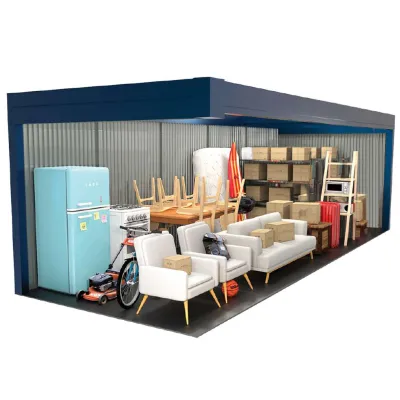
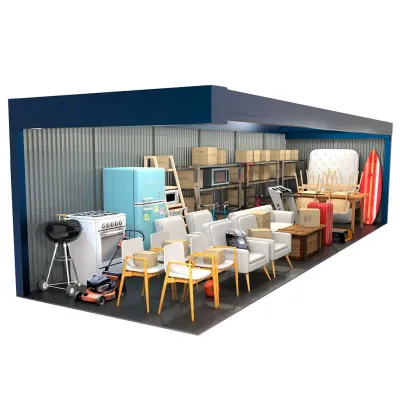
Use a Storage Unit for Extra Space: If your garage or shed is already overflowing with garden tools, consider renting a storage unit. These units provide extra space for larger tools, seasonal items, or just to keep things out of the way. Plus, it's a great option if you have limited space at home.
Need Extra Space after Buying Those Lawn Tools?
If you've gone all in on DIY landscaping, chances are your garage or shed is feeling a bit cramped. To keep your outdoor space organized and functional, consider renting a unit with Midgard Self Storage.
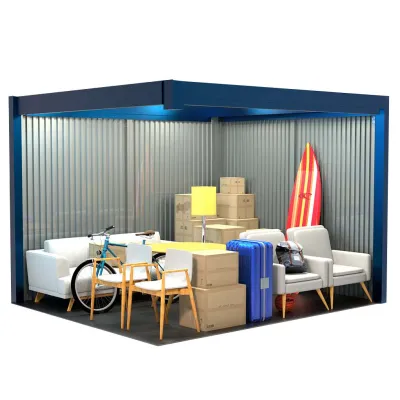
Our units come in a variety of sizes, so you have the flexibility to choose the one that best fits your needs. Find a unit near you today!

